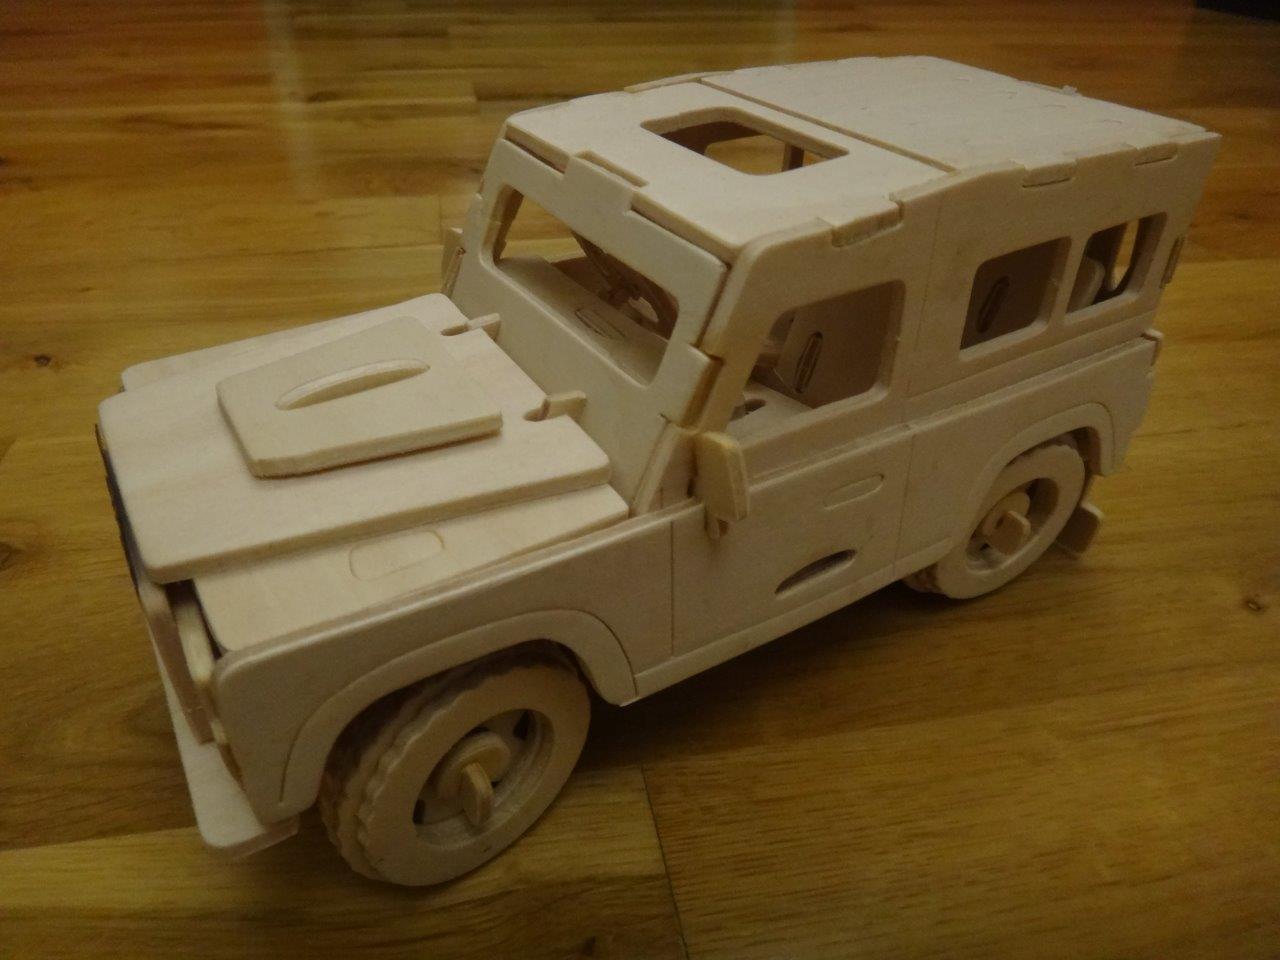
Christmas is now finally behind us. Kids made me a Defender 90 as their present. Really chuffed as it is so cool!
Keen now to get the Land Rover water tight ready for a trip at the end of January. Also, need to get the dining room back to habitable a state. Need the space in the house as a bundle of maintenance beckons and need to shuffle furniture. So, in the meantime, onwards with more Land Rover playing.
-
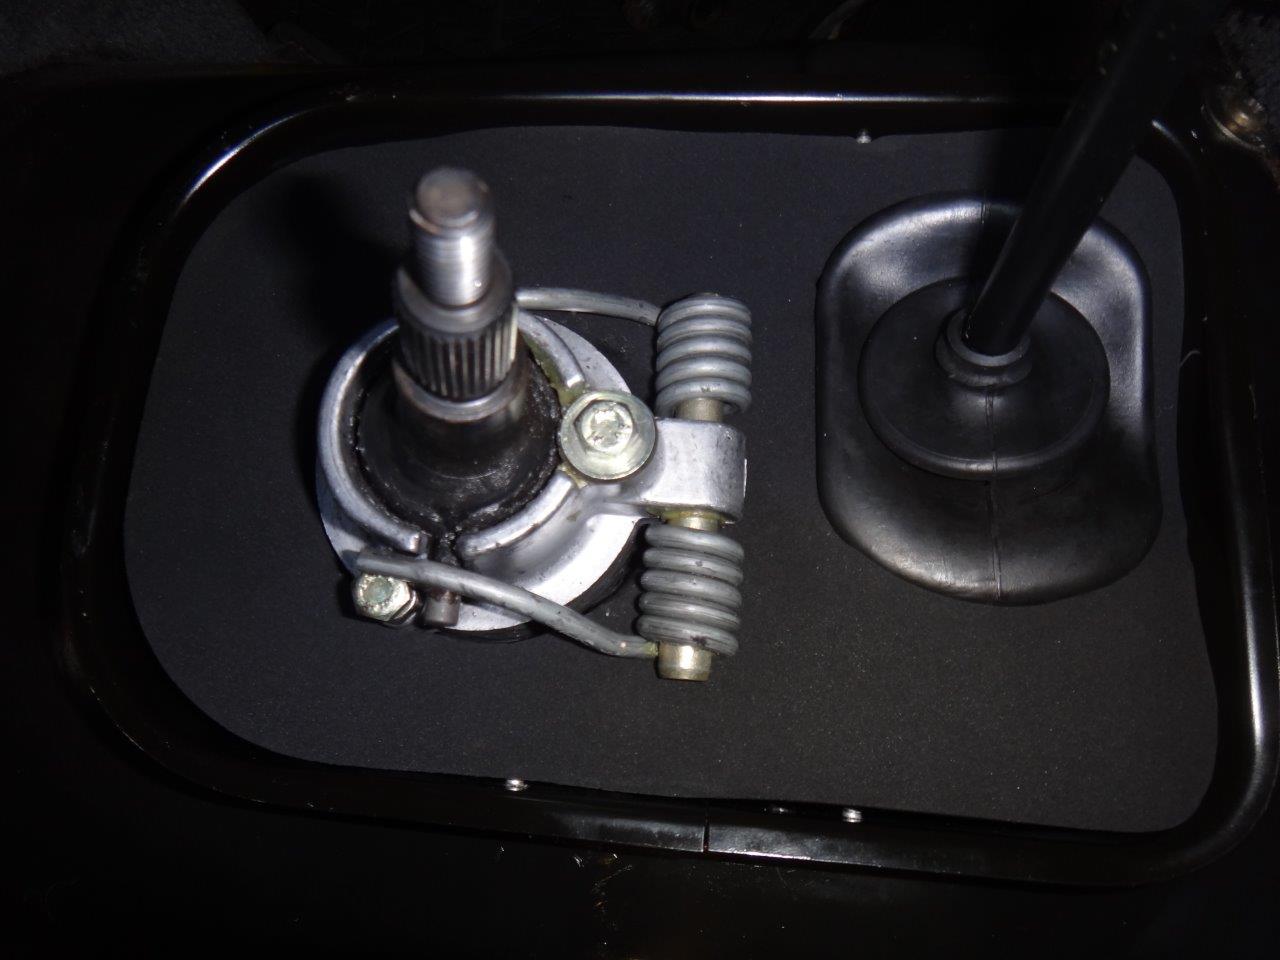
Went to fit the security nut for gear lever lock some time back and noticed that the gear lever foam gasket was torn as shown below.
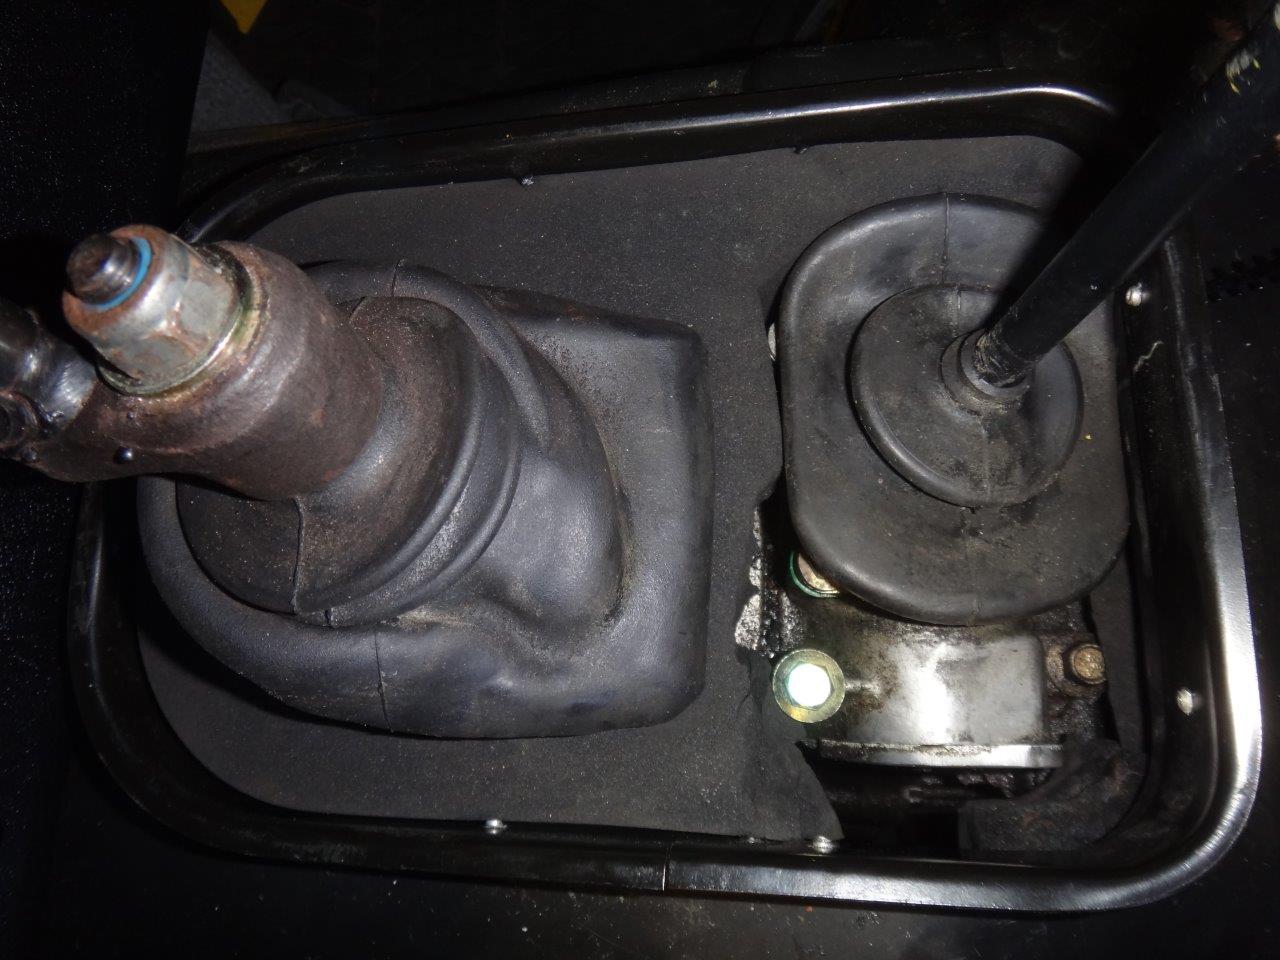
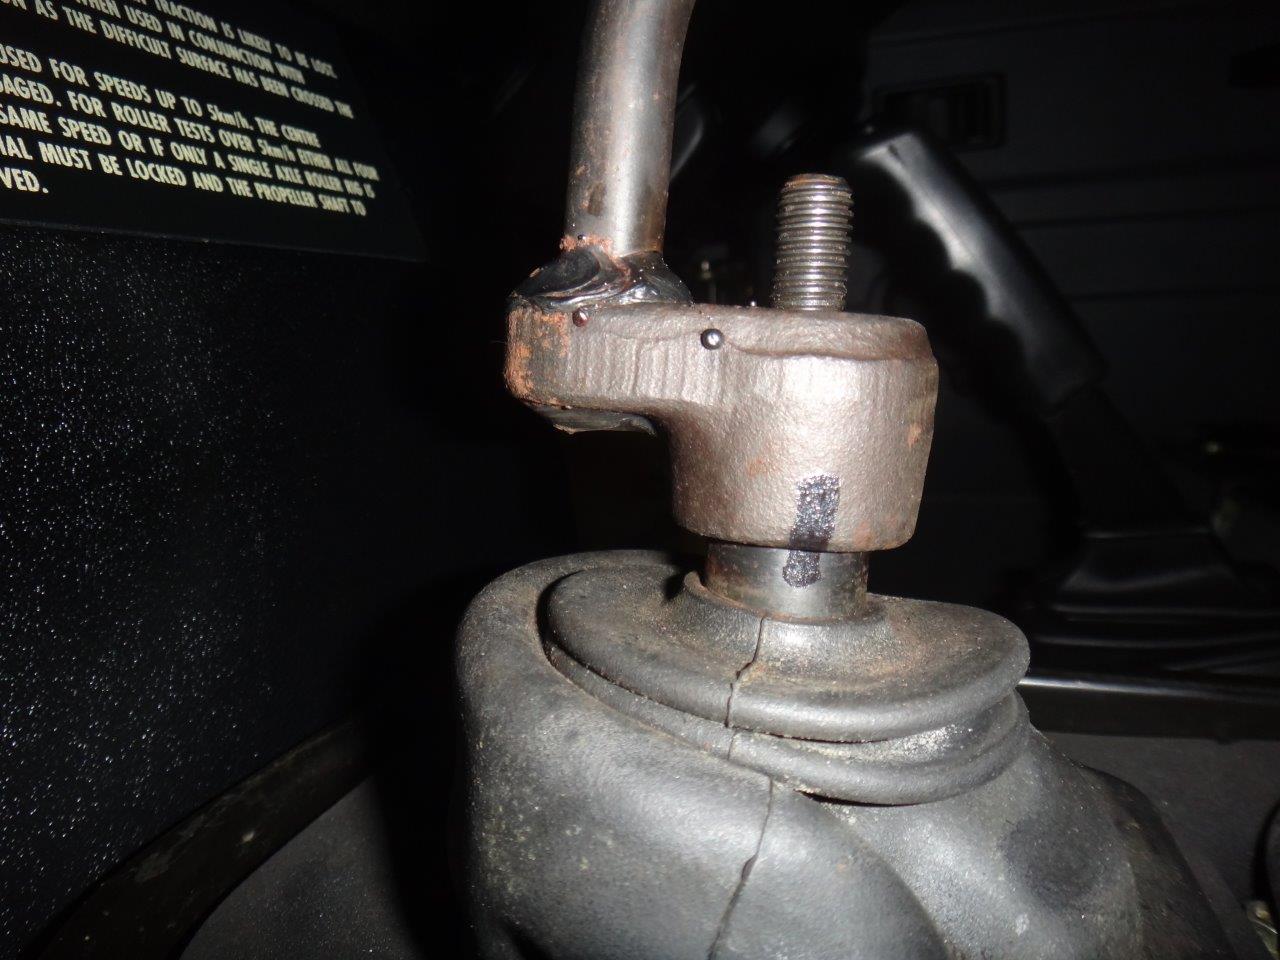
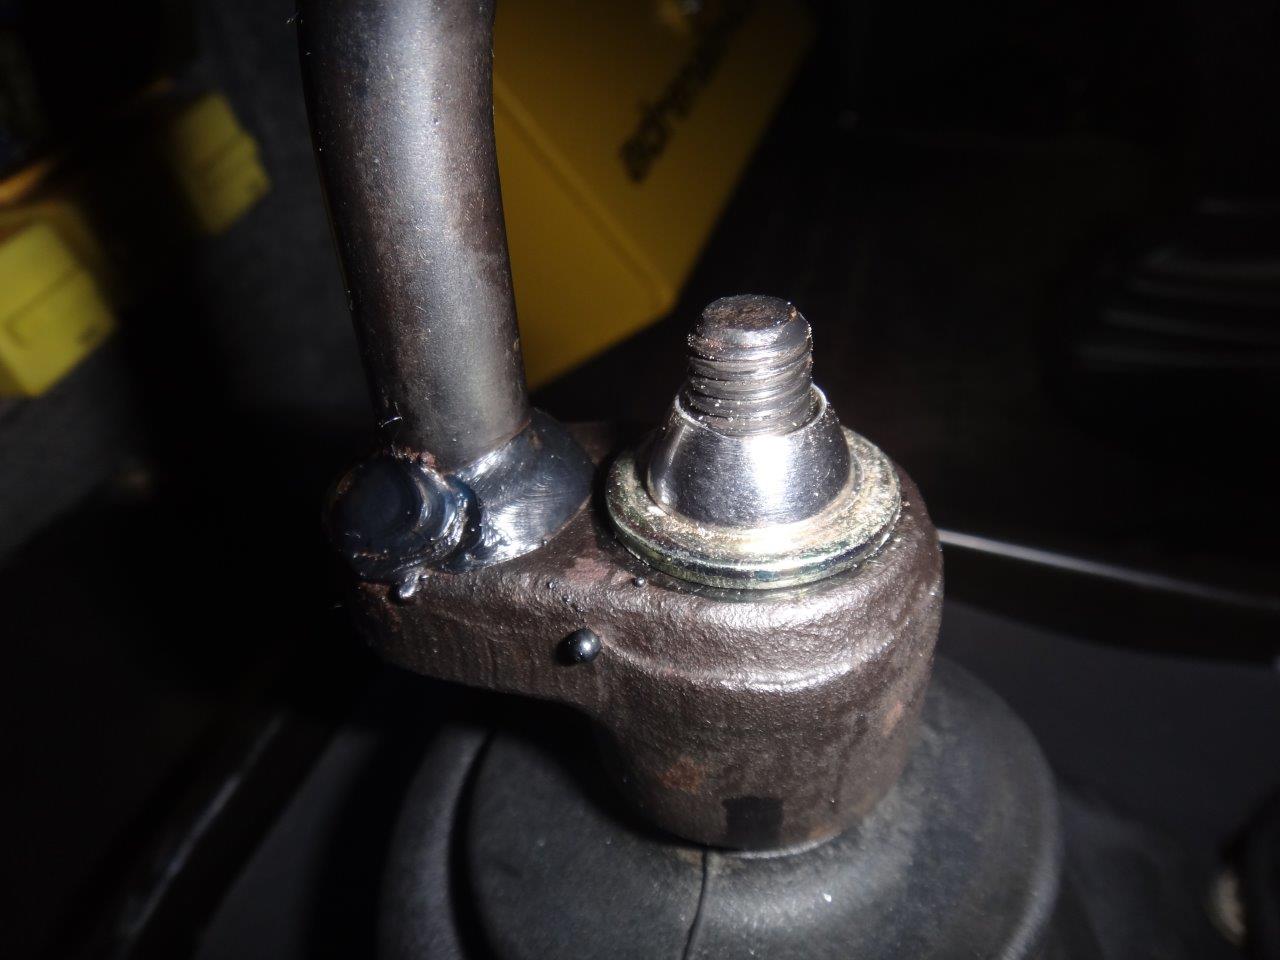
Before removing the main gear lever, marked its position with a stripe of touch up paint. The bolt is splined and the gear lever must be positioned exactly in the same position otherwise the gear level lock will not locate properly.
Main gear lever, boot cover and gasket removed. The boot cover needs to be removed before the gasket can be taken out. This is a real pig of a boot to remove. Bit of a careful clean out too.
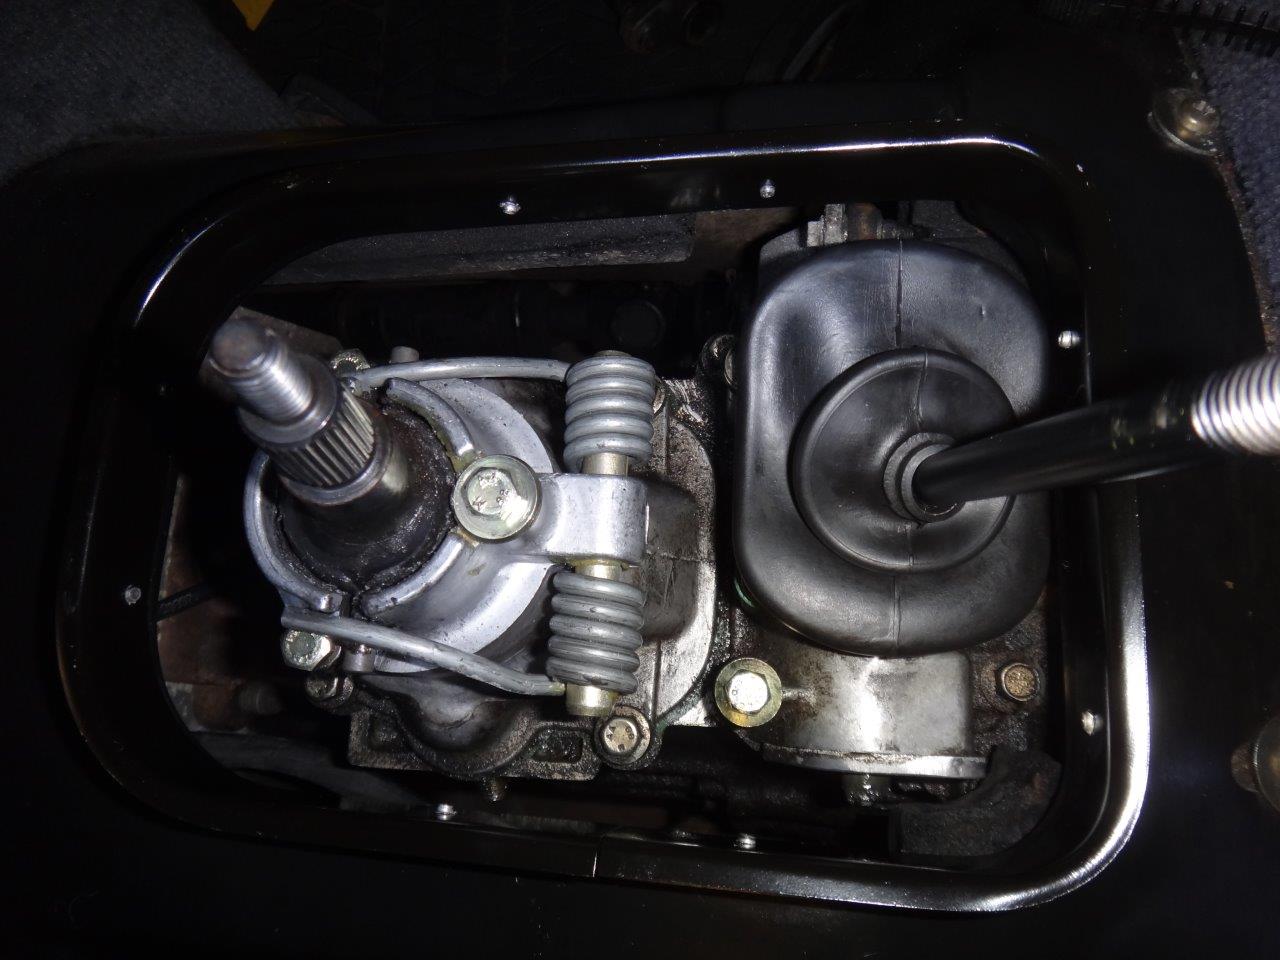
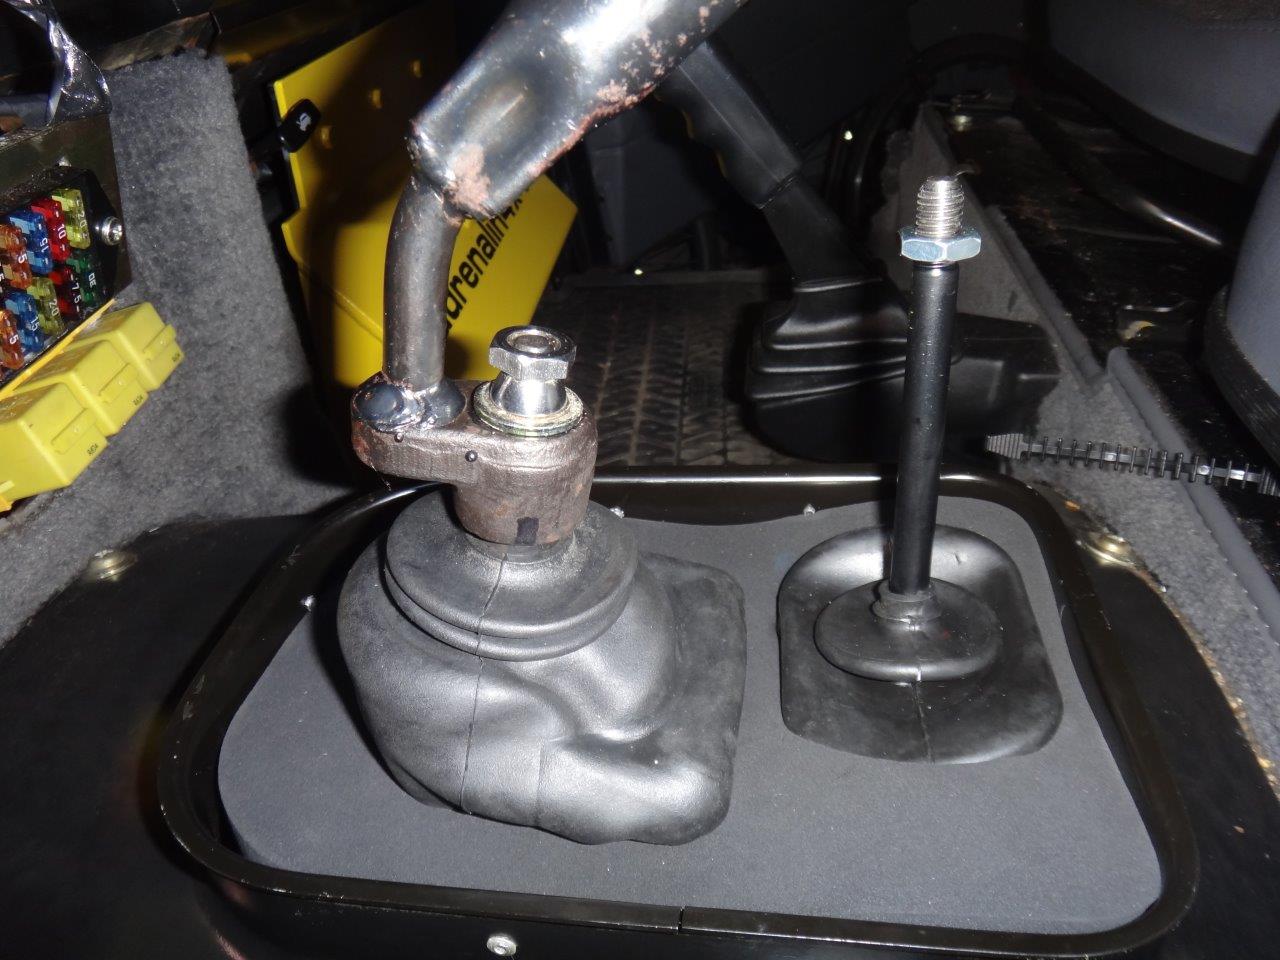
New gasket fitted. Note that it is best to work from the rear towards the front. Also the gasket does not lie flat due to the transfer box and main gear lever housings.
Main gear lever boot cleaned and refitted. Again, a real pig. Made slightly easier with some WD40 sprayed inside. Main gear lever located back with nuts in position but not tightened, ready to double check that the gear lever lock fits.
All good. Nut tightened, snapped, leaving behind just the security nut.
Main boot cover and both gear knobs cleaned/refitted. Gear lever lock located and locked in position. Job done.

-
Decided to take the nearside rear wheel off to try to determine why there seems to be a continual loss of tyre pressure. Jacked up and axle stand for extra security. Had a quick peek at the chassis and it looks really impeccable.

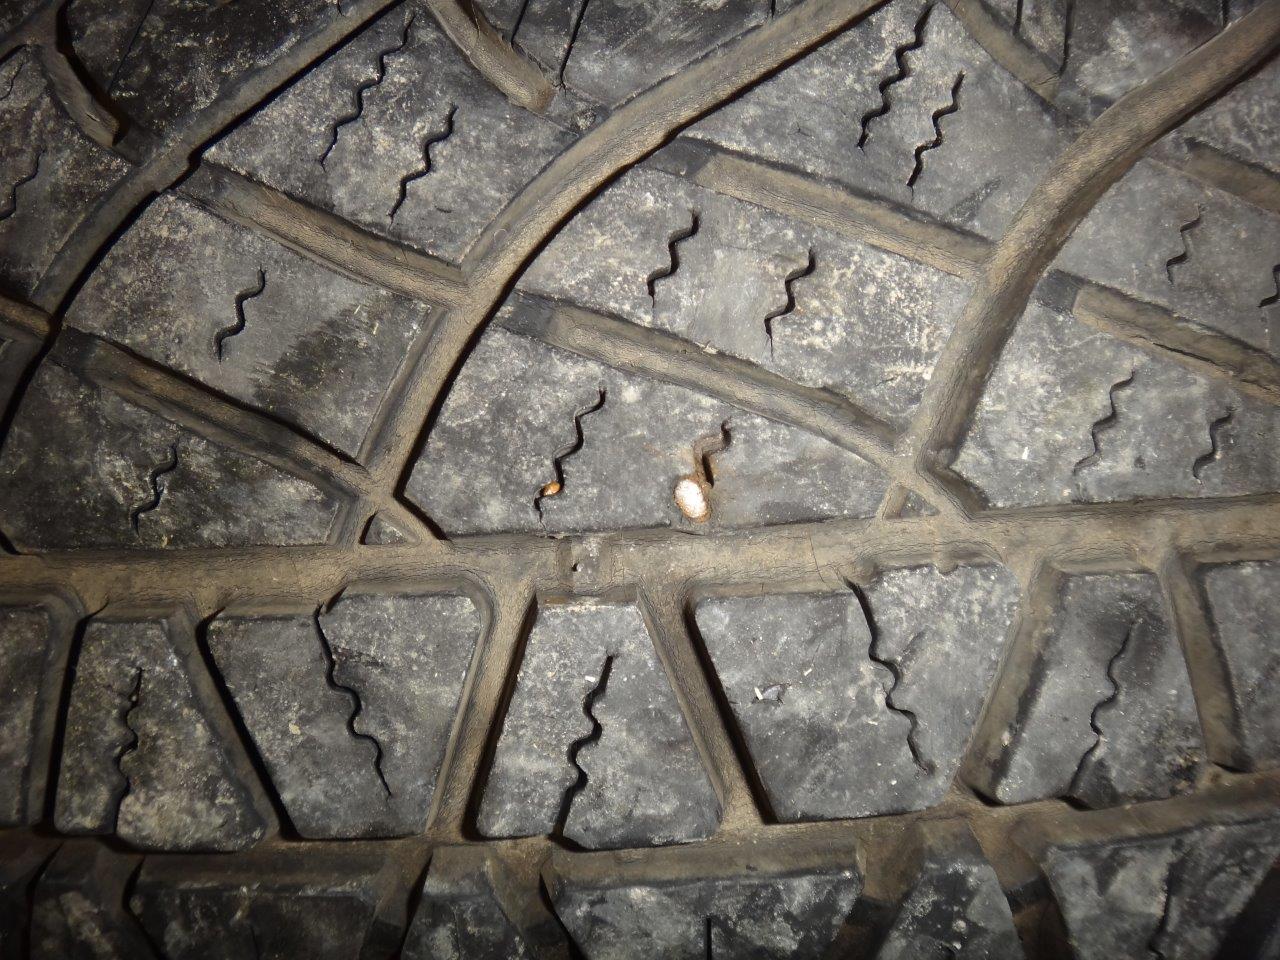
Found a nail in the tyre. Good news, bad news. Good as understand what is going on. Bad in that need another tyre.
Temporarily fitted the rear spare. This is a tyre with a much more aggressive tread - a Michelin 4x4 tyre - XZL.
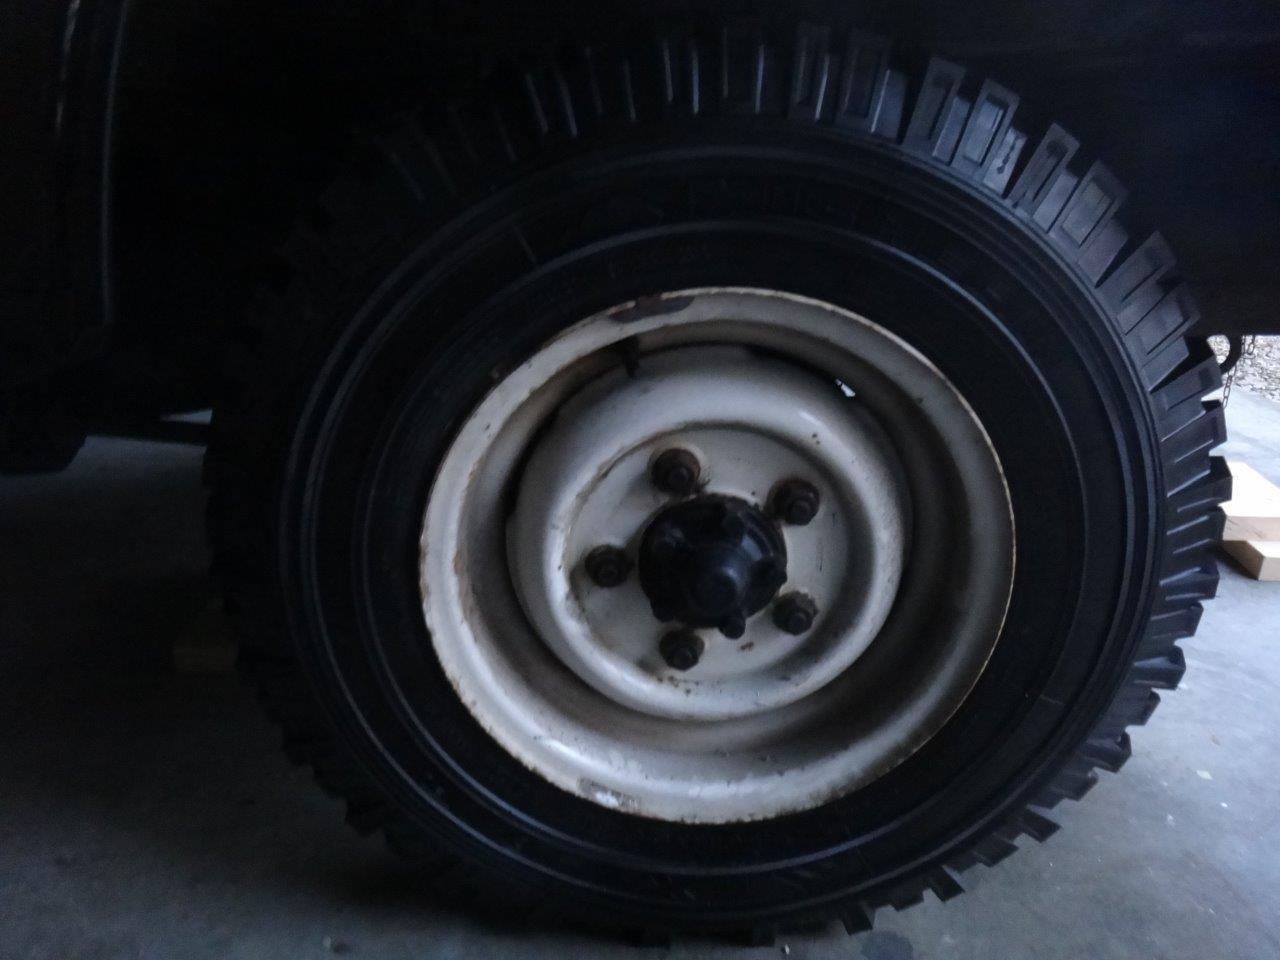
Actually think it looks quite good. Will be looking to get a second set of full off road wheels for the off road action.

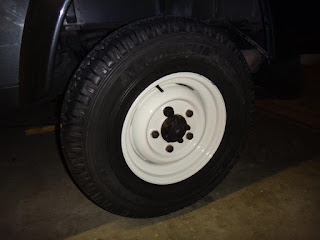
Cleaned up the wheel to ensure no debris got into the rims when the new tyre is fitted, then took it down in the back of our Focus to National Tyres at Brislington - South Bristol. New tyre fitted (£134 - Ouch - Discounted from £180). Anyway, piece of mind and the fitters were friendly enough.
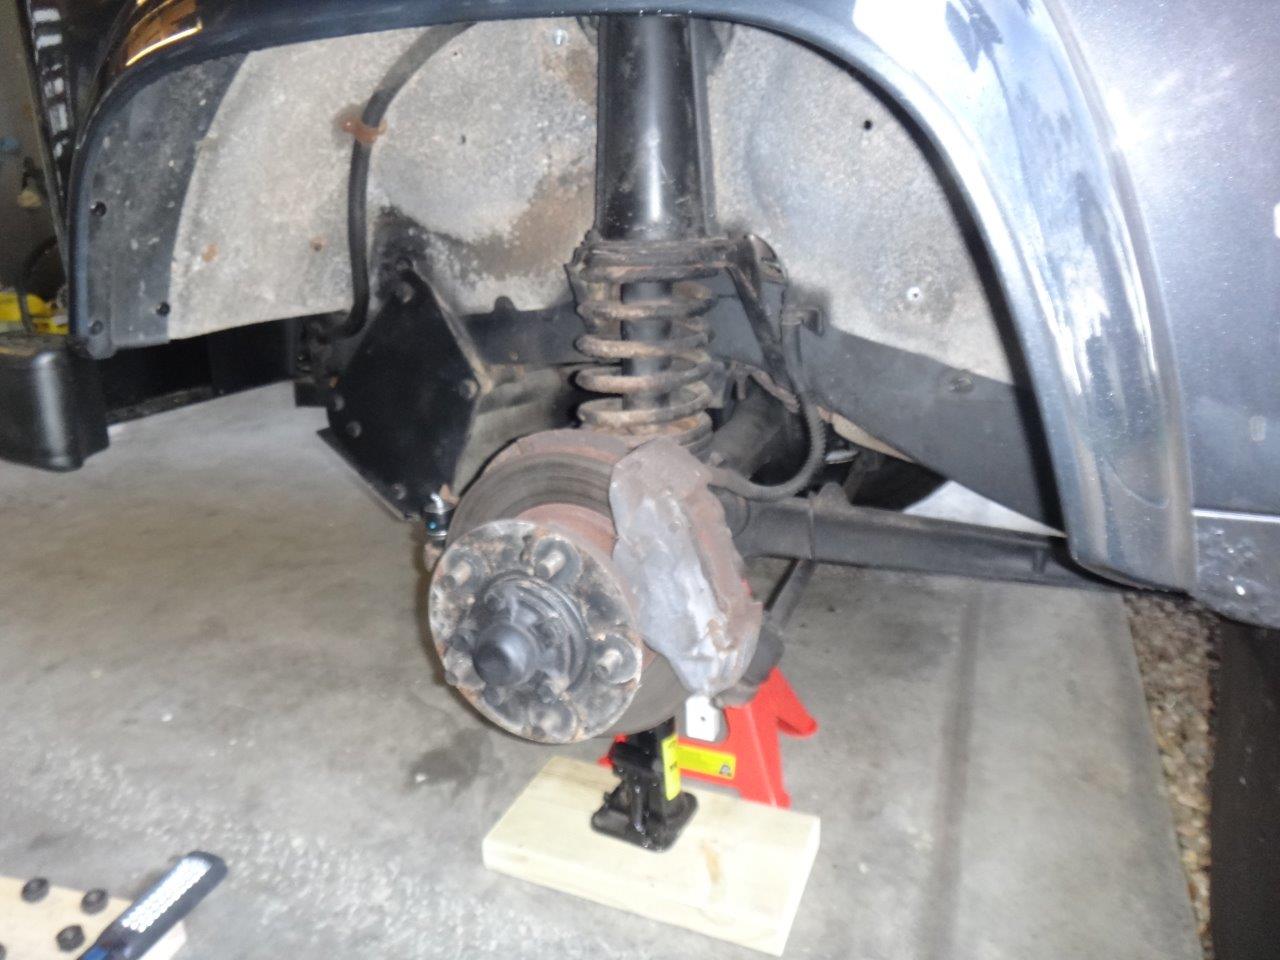
Before fitting the new tyre and wheel back, covered the disk breaks with a bin bag and then went about cleaning a bundle of debris from the wheel arches.
Once all cleaned up, refitted the wheel along with a security lock nut. Used torque wrench to set all the nuts to 100Nm.
Before fitting the new tyre and wheel back, covered the disk breaks with a bin bag and then went about cleaning a bundle of debris from the wheel arches.
Once all cleaned up, refitted the wheel along with a security lock nut. Used torque wrench to set all the nuts to 100Nm.

Have now also removed and refitted all the remaining tyres on the Land Rover. Examined all the tyres for any defects and all look good. Cleaned up all the rims and the inside of all the wheel arches. Refitted them all with security lock nuts and torque set as appropriate.
Here's an image from the nearside front.
There is an old power cable from the battery box to the front bumper.

Have now completely removed this. Bit of a pain as all the bolts/screws and nuts were seized. Used a Dremel disk cutter which made life much easier.
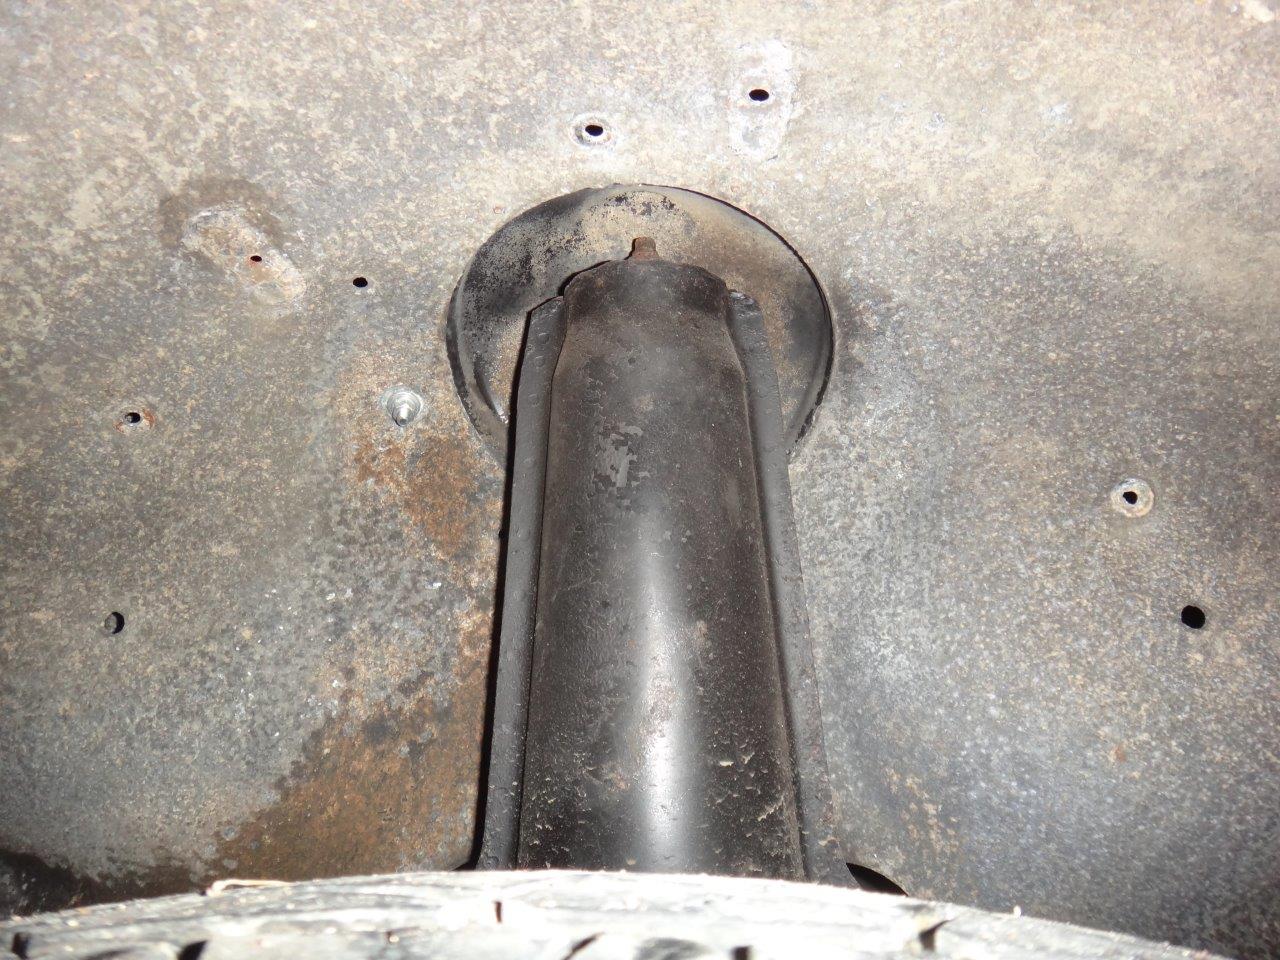
This has left a bundle of holes on the wheel arch which will be filled with some rubber grommets once ordered.
-
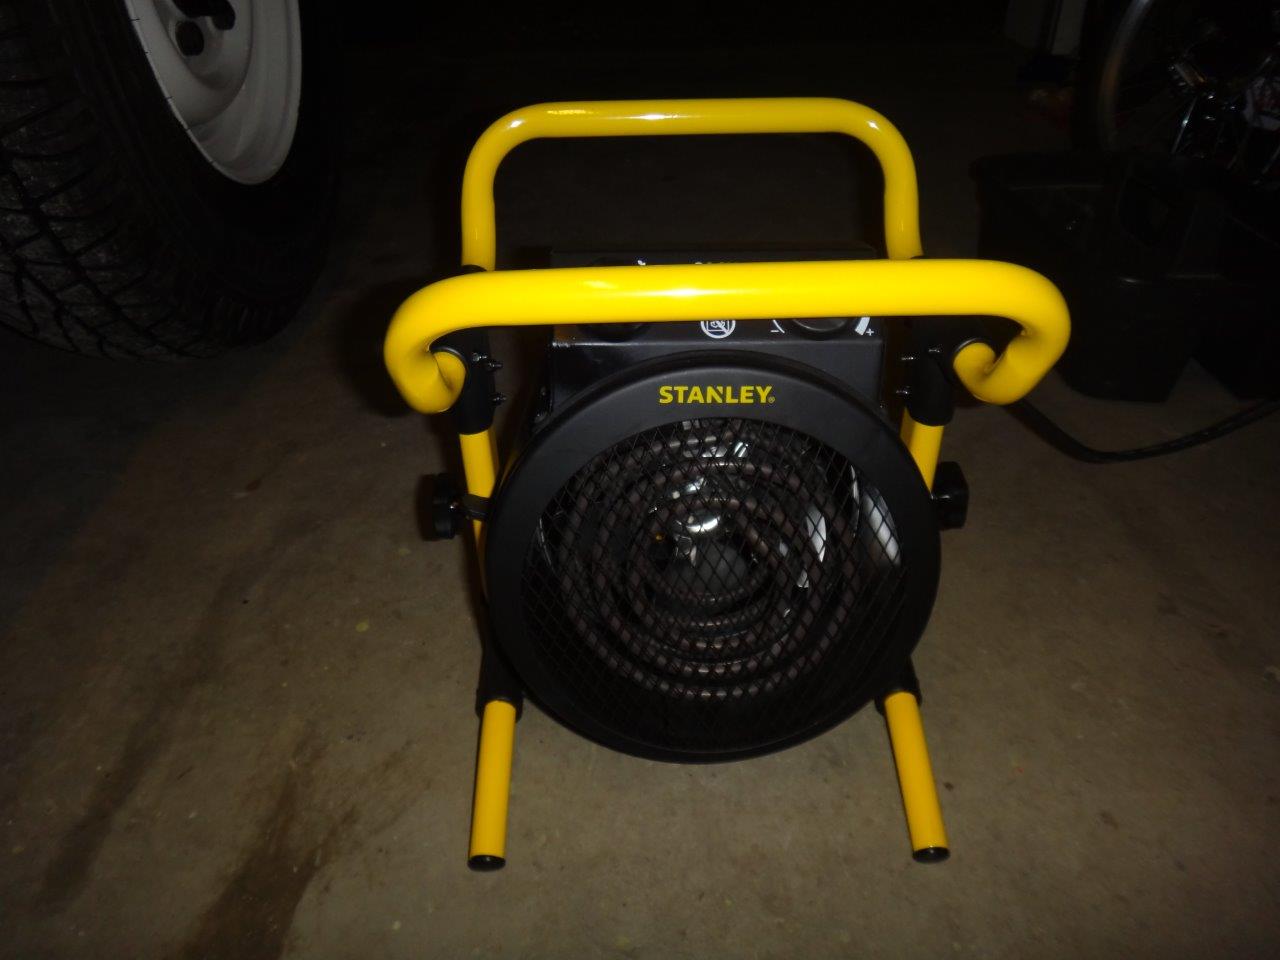
Bought a garage heater, a Stanley ST-52-241-E Turbo Freestanding Workshop Electric Fan Heater 2000W from ScrewFix. So much nicer working late now as the evenings are pretty cold once the sun as gone down. Can recommend this heater other than it had a "million" bolts which had to be fitted as part of the self assembly.
-
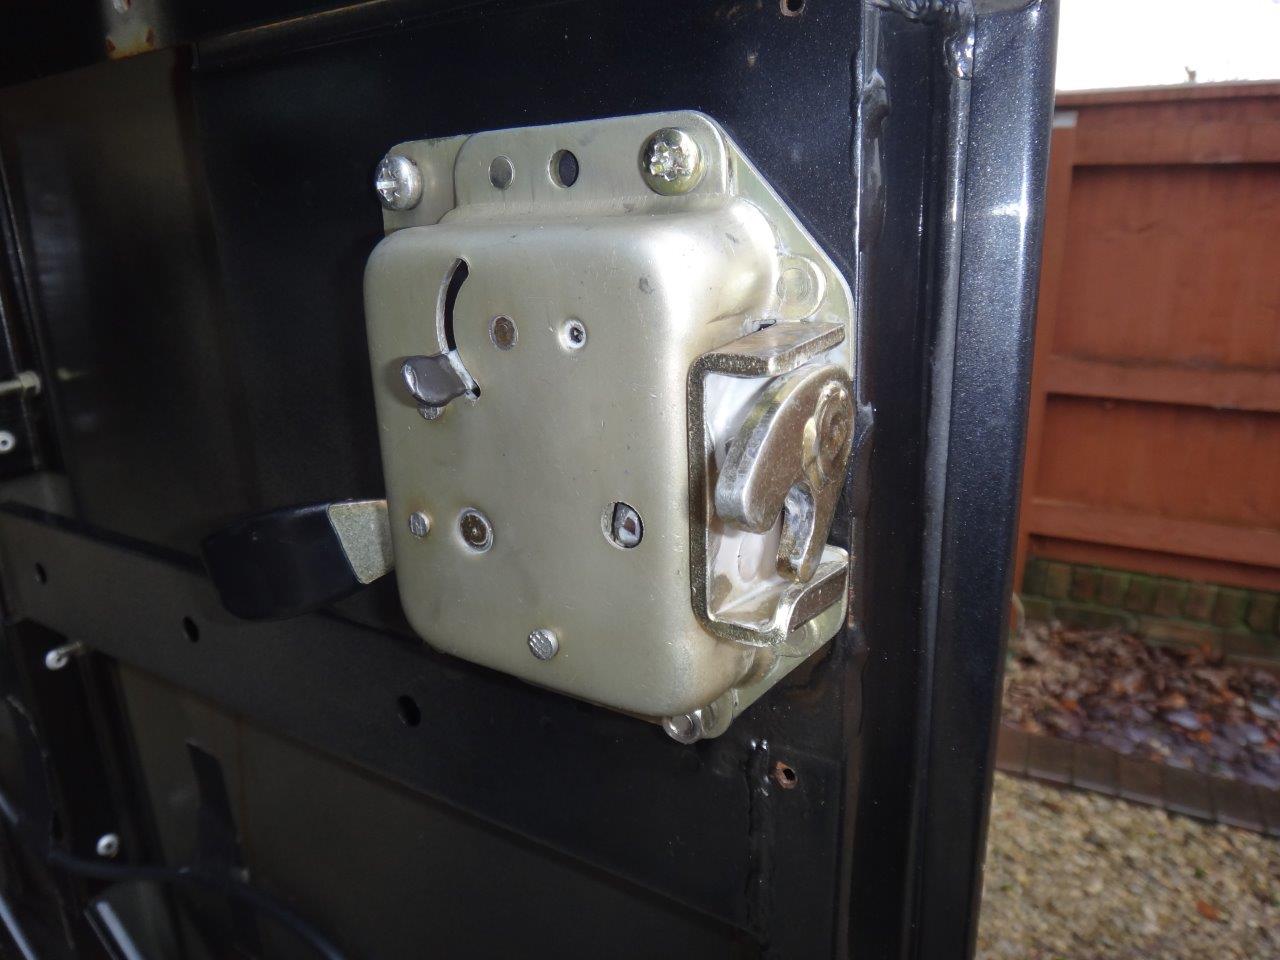
Finally completed fitting the rear door lock. Simple things like having a door that shuts is satisfying.
When refitting the plastic protection grommet in the door, the tabs fatigued and snapped. So had to replaced them with a new part. Ordered replacement part EKC000030PMA. However, once arrived, the diameter was too large for the hole. So ordered part CWN100020L which is actually a rubber grommet. Much happier with this since it will not fatigue in the same way and will form a better seal.
Retainer plates added (with silicone sealant applied), gasket and all nuts/bolts copper greased.

Lithium grease was applied to both the lock mechanism and door latch prior to fitting. Graphite lubricant added to the key lock. Job done.
Once the Waxoyl for the door has been applied, will refit the door card.
-
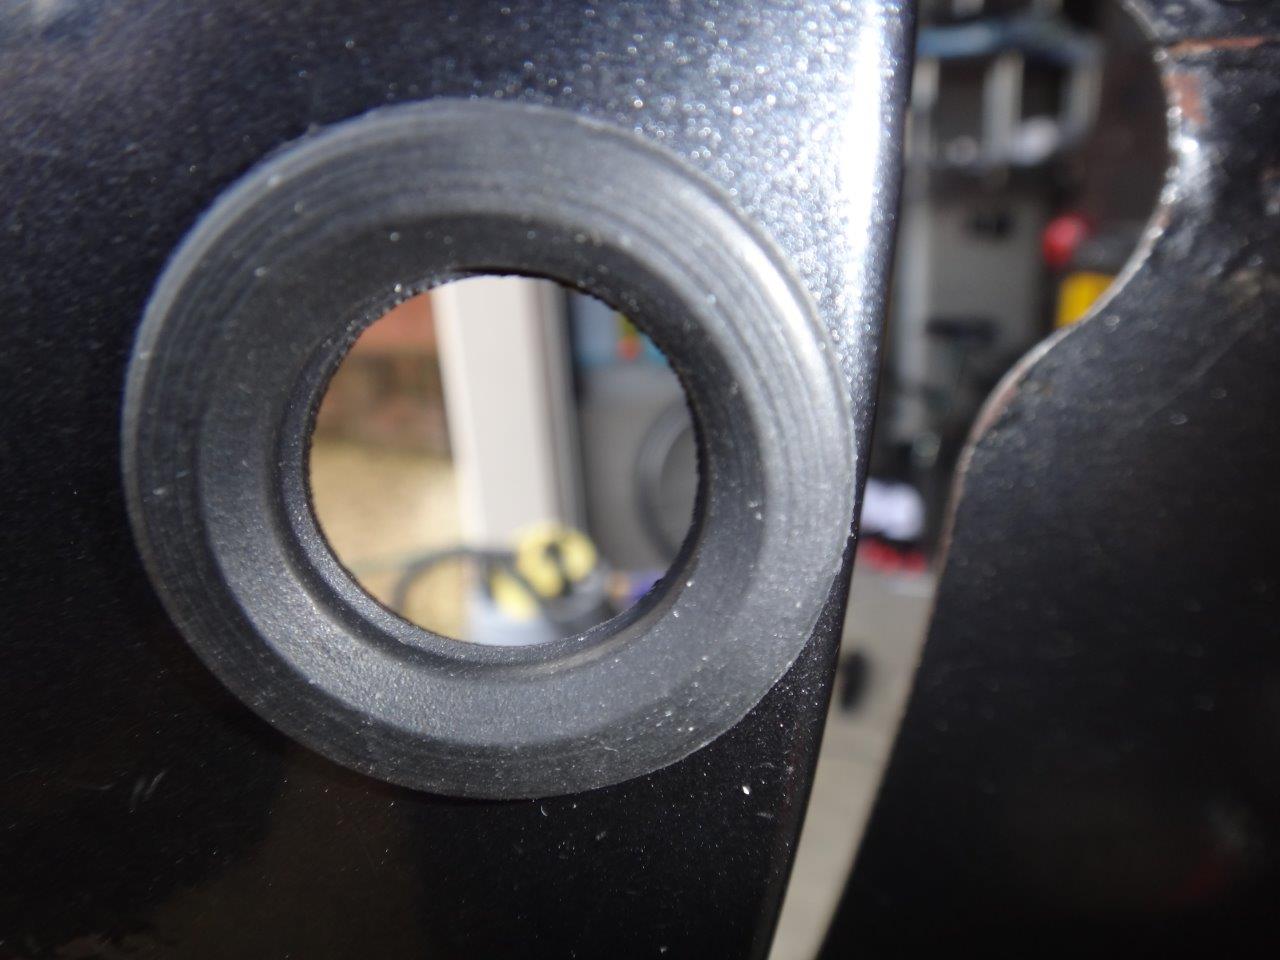
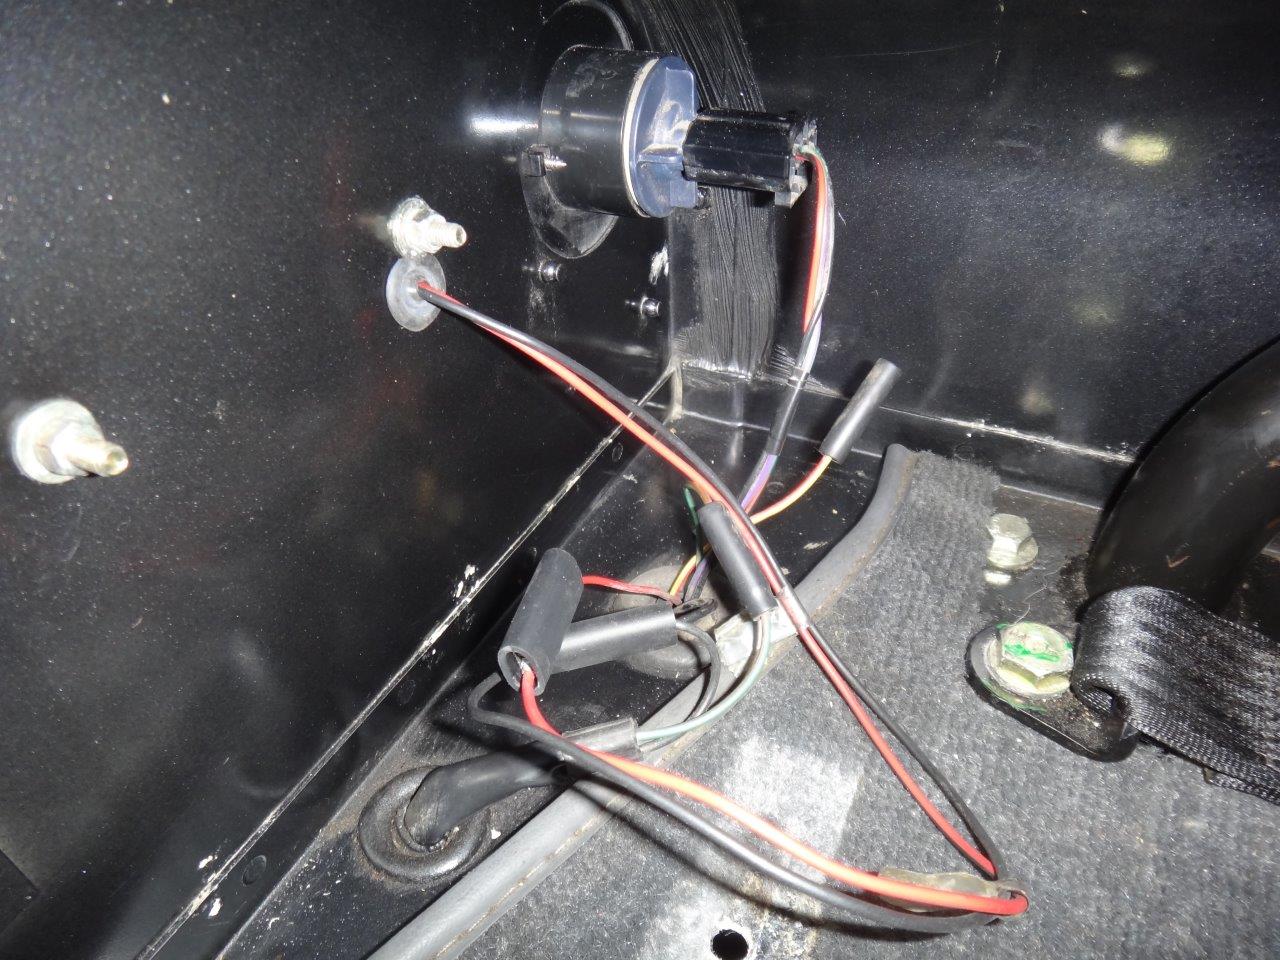
Took off the rear number plate light to replace the plastic spacer between it and the body. This required the wiring to be disconnected to allow the lamp plate to be pulled clean from the plastic spacer. Image below shows the new one fitted.

Reconnected the wiring again using new Lucas 4.7mm bullet sockets. Fortunately managed to not disturb the original bullet connectors on the wires. Simply destroyed the original bullet sockets with a knife and screw driver to allow the connectors to drop out.
-
Before refitting the rear door carpet retainer, decided to remove all the rear carpets and clean out. Oh well, more Land Rover bits back in the dining room. So much for good intentions.
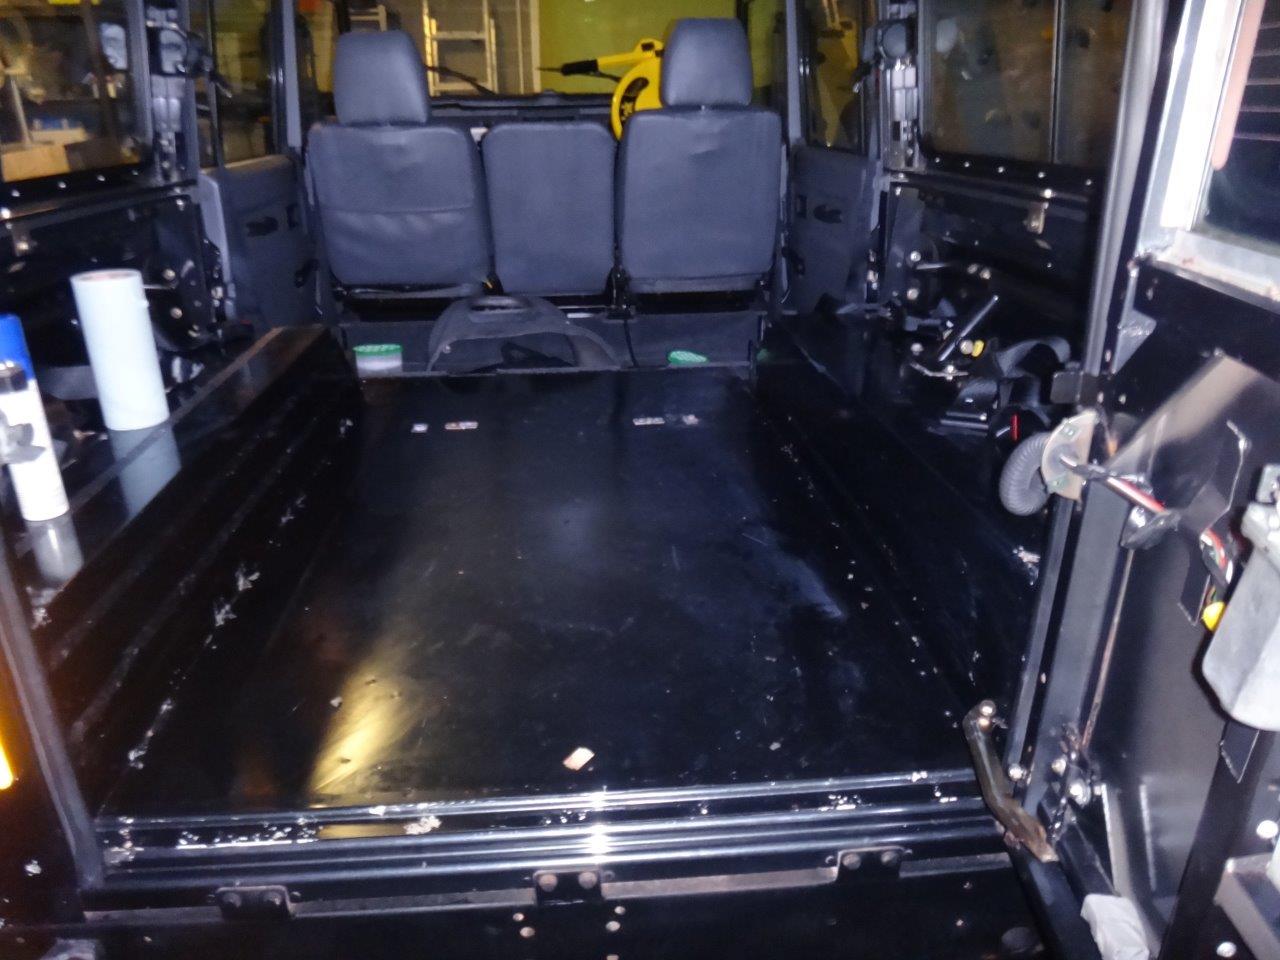
The floor of the Land Rover is in very good condition. Will use a few cans of sticky stuff remover to deal with all the carpet adhesive strips. Once all clean up, the carpets will be refitted, rear door carpet retainer and seal refitted. This should be the last piece to make the Land Rover "water tight" - if there is such a thing.
-
-
No comments:
Post a Comment