Finished cleaning up the rear door lock mechanism and fitted a new lock barrel. The key for this barrel being common to the fuel cap filler lock and eventually the side doors too.


Ordered a new seal and a couple of replacement plates. Cleaned up the existing bolts, washers and nuts.

Anna pointed out that the bolts have different lengths depending upon which hole on the rear lock mechanism they are to be located in.

Note once fitted this will result in the half moon cuts being at the top which is different to that pictured in the workshop manual. Recall that the half moon cuts on the original parts were on the top when removed.
-
Eventually managed to get the gear lock mechanism from X-Eng. The one pictured below is actually the second one. When trying to assemble the first lock delivered, the silver tube would not locate into the yellow housing tube when the barrel lock was fitted. The tolerances were simply just too tight. The folk at X-Eng were really helpful and the first unit was swapped for the one now fitted below.
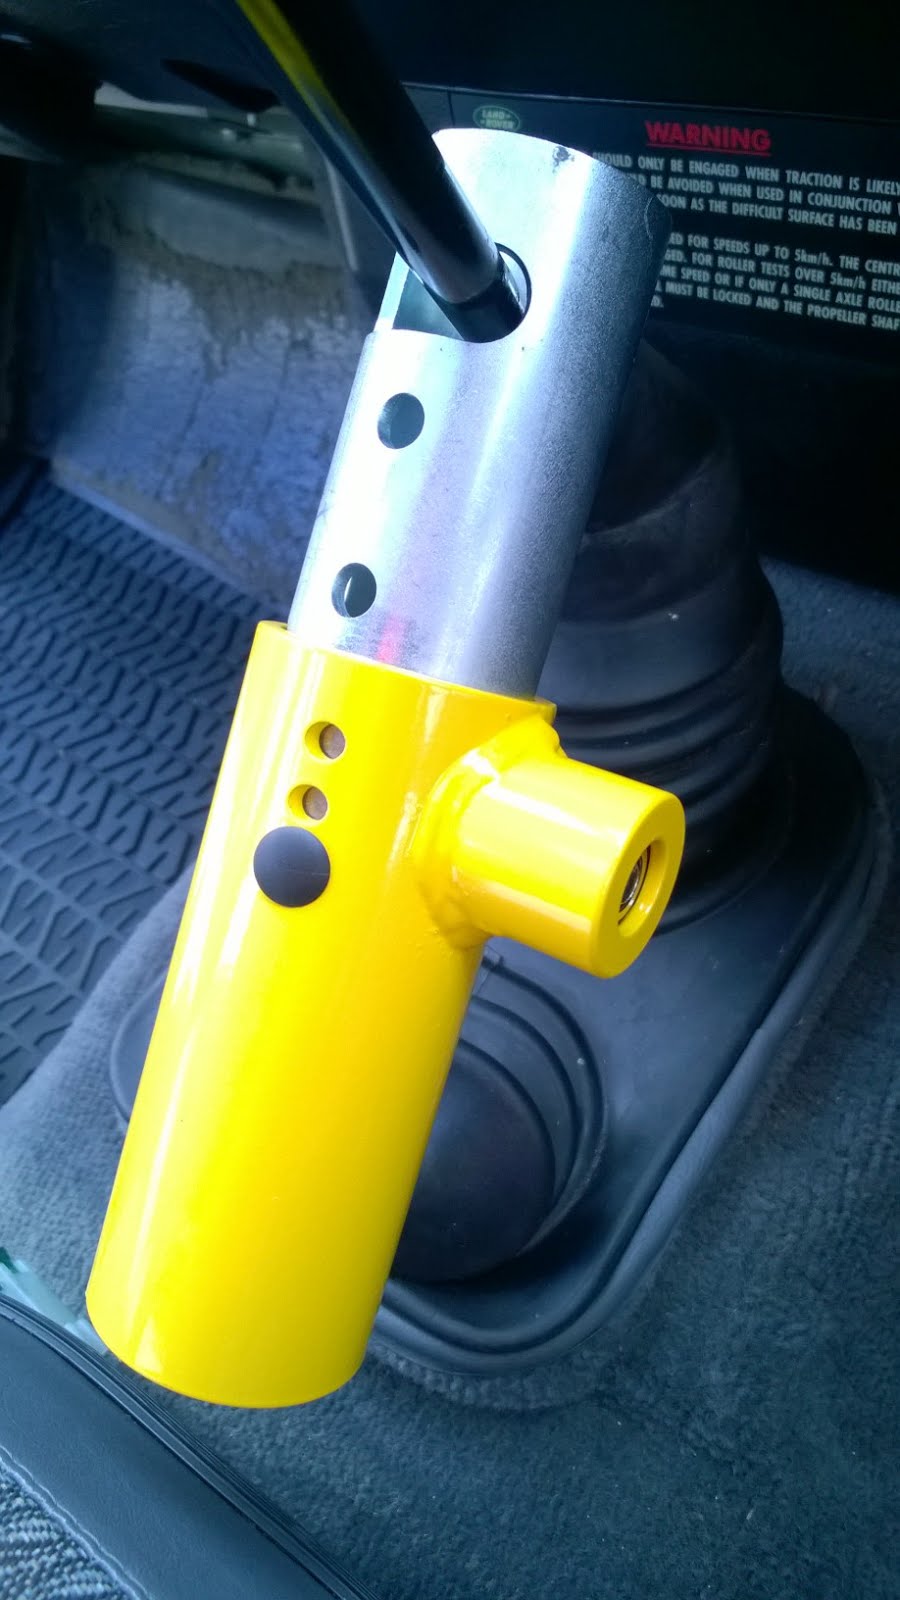
Also purchased a Disklok for the steering wheel. There is various debate on the Land Rover forums as to which size to purchase for a type B steering wheel. Phoned them directly and was recommended the medium size. In fact, they stated that the metal work is common to both the medium and the large units. The difference being that the in the medium unit there are a number of foam spacers.

In any case, the medium unit fitted well straight out of the box. All folds away easy once removed and can be popped into its bag.
-
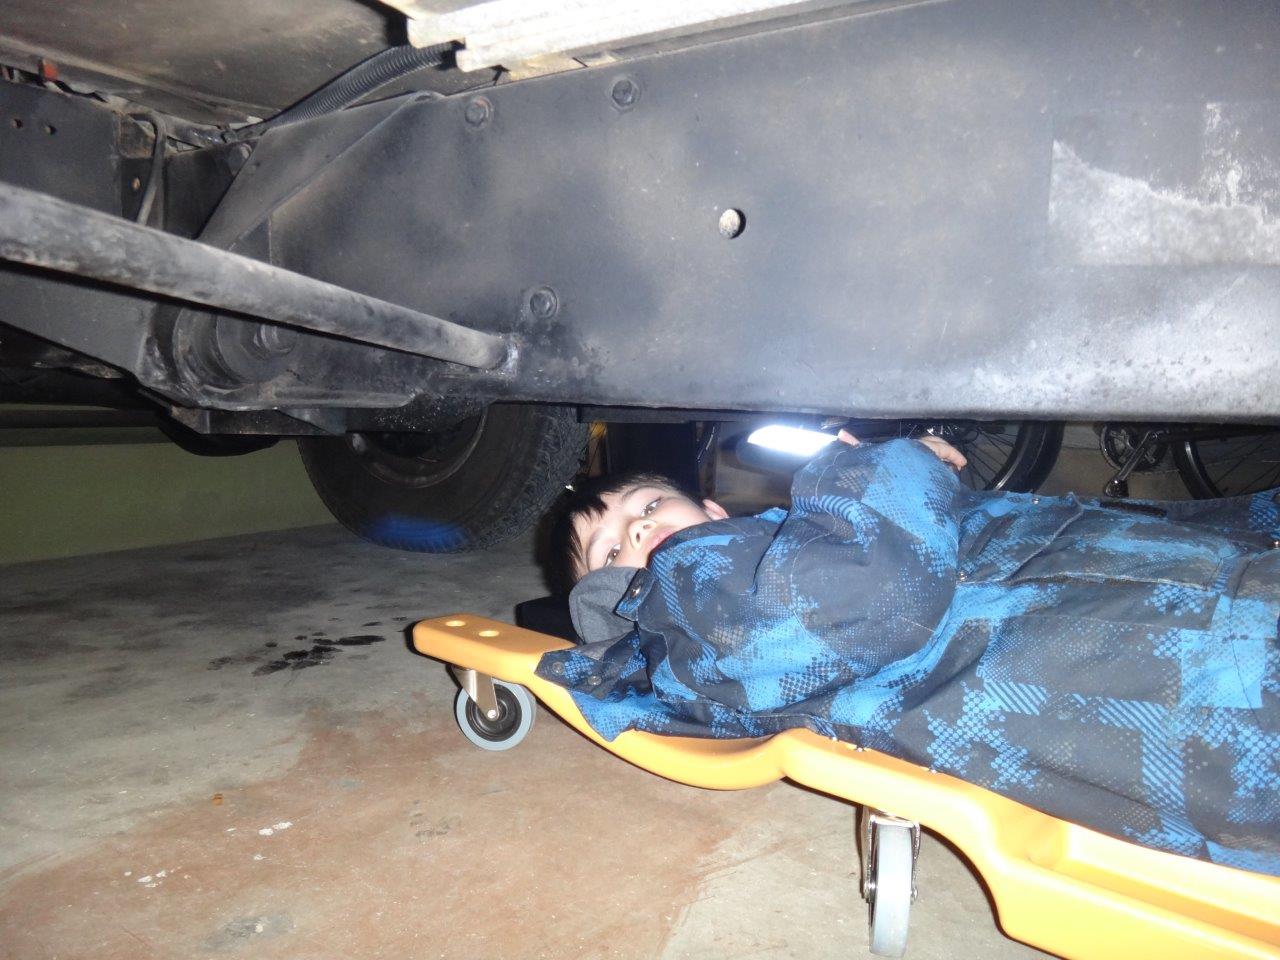
My Dad came down just prior to Christmas and bought me a car creeper. This will be really useful as have a bundle of cables still to remove from the underside as well as giving the Land Rover a more thorough once over. No doubt there will be additions to the fix list. Christopher examining the chassis below.
-
Filled the Land Rover up with diesel for the first time since purchase. Had done 300 miles, used 50.41 litres of diesel resulting in an average of 27.1 miles per gallon. Pretty pleased with that. Christopher came with me to the fuel station and we've now added some essential "Land Rover Maintenance" fruit pastels, now tucked away in the front dash. As a result, he now states that the Land Rover is just like Grandad's. He has recently purchased a Land Rover Free Lander 2E in black.
-
Added another item to the fix list, noticed that the dash board hand brake light is not working. Hopefully a simple switch/fuse issue.
-

Used a few applications of "sticky stuff remover" - the gel kind (so it does not run) to get rid of this mess. This bit of the roof section has now cleaned up really nicely.

Some of the other aerial holes had an uneven surrounding roof surface as can be seen in the image below. This would make it awkward to seal effectively.

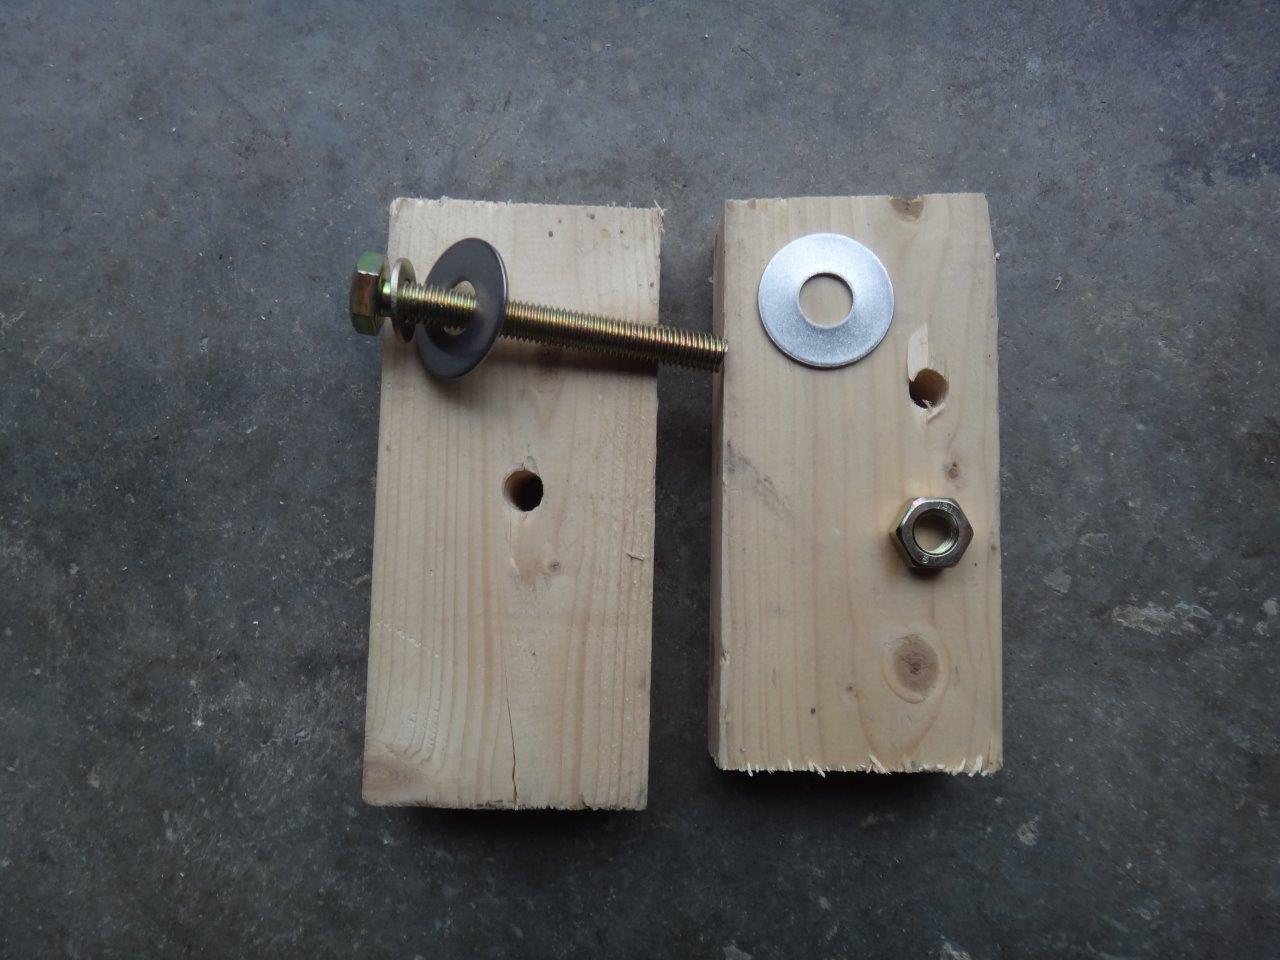
Therefore decided to make a "puller" to flatten out the surface. This was achieved simply from two pieces of wood with some holes drilled in them. This allowing an M10 bolt to be run through. Note that the piece of wood for the inside had the hole drilled offset from the centre. This allowed for better placement on the inside of the roof to accommodate the outside curve of the roof.
Placing the wooden pieces either side of the roof, subsequent tightening "pulled" the root flat - after all it's only a few mm of aluminium!

The image below just about demonstrates an improved flattening of the roof section around the aerial hole.

After cleaning the holes and wiping down with methylated spirits, some domed plastic threaded stoppers, rubber washers and sealant were used to plug the holes.

Liked these threaded stoppers since they are considerably wider than the aerial holes and are domed to allow bundles of sealant to be loaded under the dome. This helps to make a good seal around the hole.

Some sealant seeping out as the nut on the thread is tightened from the inside.

Wiped off the excess, gently warmed with a hair dryer for a few minutes (It's been cold in the garage) and really pleased with the final result.

Image below taken from the inside. Note that the threads had been trimmed prior to fixing.

An image once all completed - seven in total. The furthermost rear two not visible clearly on this image.

-
Ordered a new load bed mat retainer strip that goes across and covers the carpet edge below the rear door. Bit of stress trying to find the part which fits without me having to redrill the body work. Essentially the current superseded part (AFP710120) is not compatible. The holes have the correct spacing, however, the holes are 23mm from the edge as opposed to 18mm as per my original part. The part number required is actually ALR4769B and the differences can be seen below.
Orignal in the middle, AFP710120 on the left and ALR4769B on the right.

Have also been spending far too much time on the internet ordering a bundle of parts, not least the following which has made a significant dent on the wallet:
- Set of four new head liners and associated fir tree plugs
- Lucas 4.7mm bullet connectors/sockets and crimping tools
- Set of new four grab handles
- Rubber floor mats for the front and middle row
- Two rear window trims
- Bonnet liner
- Gear box foam gasket
- Clear Waxoyl
Essentially now have all the parts to be able to refit the roof lining and get the interior trim into order.
-
Noticed that the rear nearside tyre was looking a bit flat - seems to be loosing air slowly. Decided to purchase a Halfords Rechargeable Multi Purpose Tyre unit. Liked the idea of being able to freely move around to each wheel without the associated car socket/mains leads getting in the way or ending up with a 30 minute thigh burn from a foot pump. There is a digital display and the target inflation pressure can be set for automatic stop. Since it also comes with a bundle of adapters for inflate/deflate of air beds/balls/etc... it'll be ideal for camping without having to lay mattresses over the bonnet in the rain. There is also a handy torch and various output sockets including USB for charging other devices such as mobile phones in the tent. Note this is family camping!
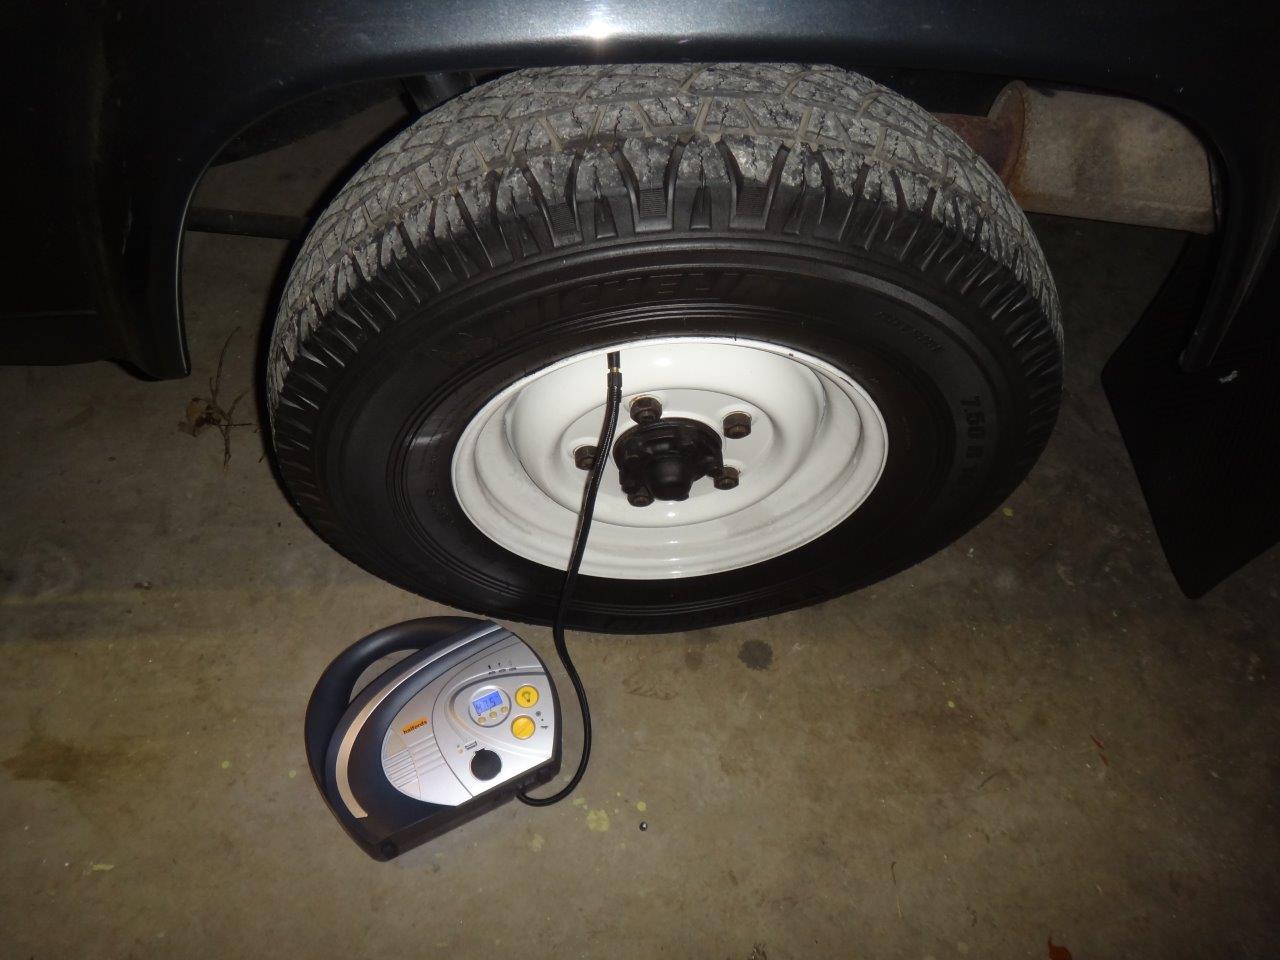
The rear tyre was down at 12 PSI and should be at 48 PSI. Set the target tyre pressure, screw thread attachment onto the tyre value and off it went. Took around 5 mins to get it up to pressure. So far quite happy. My only niggle so far would be that, as always, there is no neat place to tidy away the mains adapter. The car power socket adapter and other air adapters can be located on the unit. However, it's fiddly. Suspect they'll end up an another box. Also, cannot yet comment as to the duration of the charge holding capacity of the battery. There are three battery level indicators on the unit.
No comments:
Post a Comment